Remarkable Custom Renderer
2020 Aug 28 ( 3 minutes )
I’m a proud owner of a Remarkable device for quite some time (I think close to 2 years now), and it’s basically replacing all my notebooks I’ve used so far and helping me drawing as well.
And quickly I wanted to know how the data is stored to be able to do anything I want with it, like for example applying a custom renderer.
The format
So the first thing that comes to mind is: what is the format used to store the strokes you apply on the device when you write? For this, a lot has been done already and documented in this excellent post by ax3l.
The format itself is a binary kind containing each “line” as a set of points in which certain properties are captured (like tilt, speed, etc).
This can be quickly formalized as (updated for version 5)
+ Header (43 bytes) : string saying "reMarkable .lines file, version=x" with "x" the version set to 3 (old) or 5 (current)
+ Layer count (4 bytes - Int32)
    then for each layer:
    + Line count (4 bytes - Int32)
    then for each line:
        + Brush type (4 bytes - Int32)
        + Line color (4 bytes - Int32)
        + Unknown (4 bytes - Int32) -- mostly 0000
        + Base brush size (4 bytes - float32)
        + Point count (4 bytes - Int32)
        the for each point:
            + x coordinate (4 bytes - float32)
            + y coordinate (4 bytes - float32)
            + speed (4 bytes - float32)
            + direction (4 bytes - float32)
            + width (4 bytes - float32)
            + pressure (4 bytes - float32)
SVG Renderer
Of course, once you know the format, the next thing to do is exploit it and render it in different outputs.
One interesting tool is rm2svg published in this github repository.
This is a simple python script reading the .line file and converting it to an svg file.
The problem is that since remarkable published their version 2.0, a few things changed within the files, and in particular new brush codes and encoding. So I started forking it and trying to fix it.
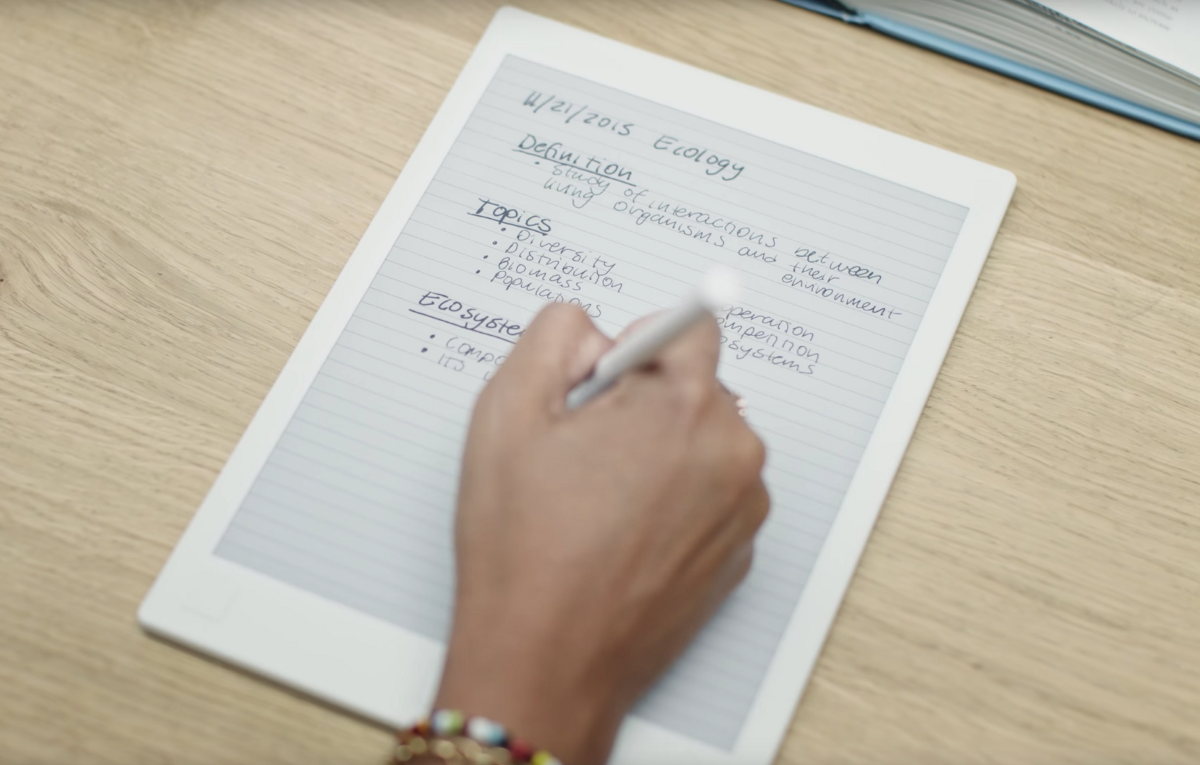
After several tests (by drawing a single line in a single page in a single file for each brush type),
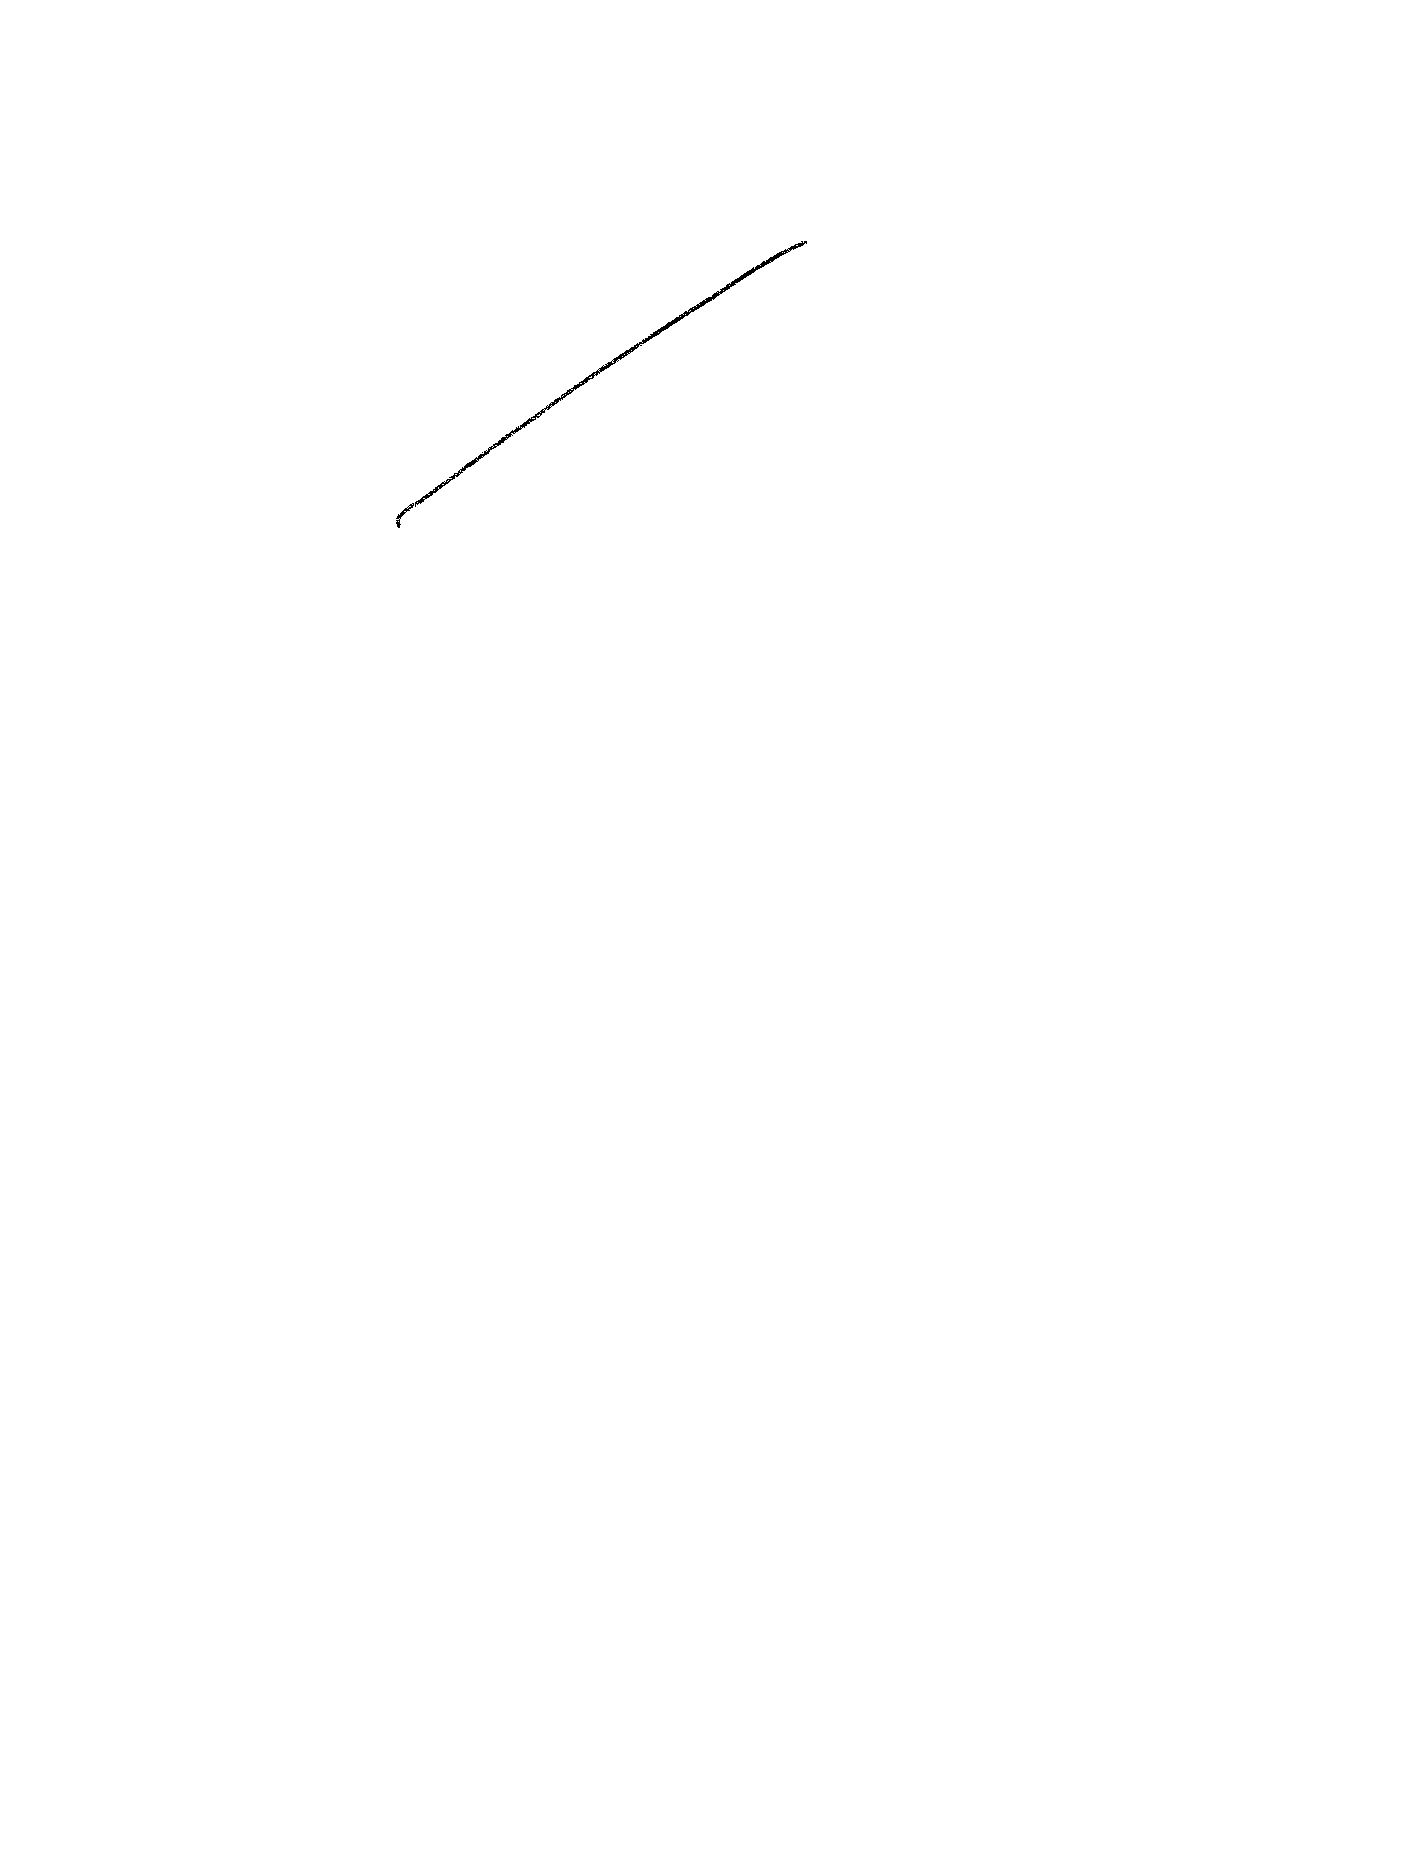
Mechanical
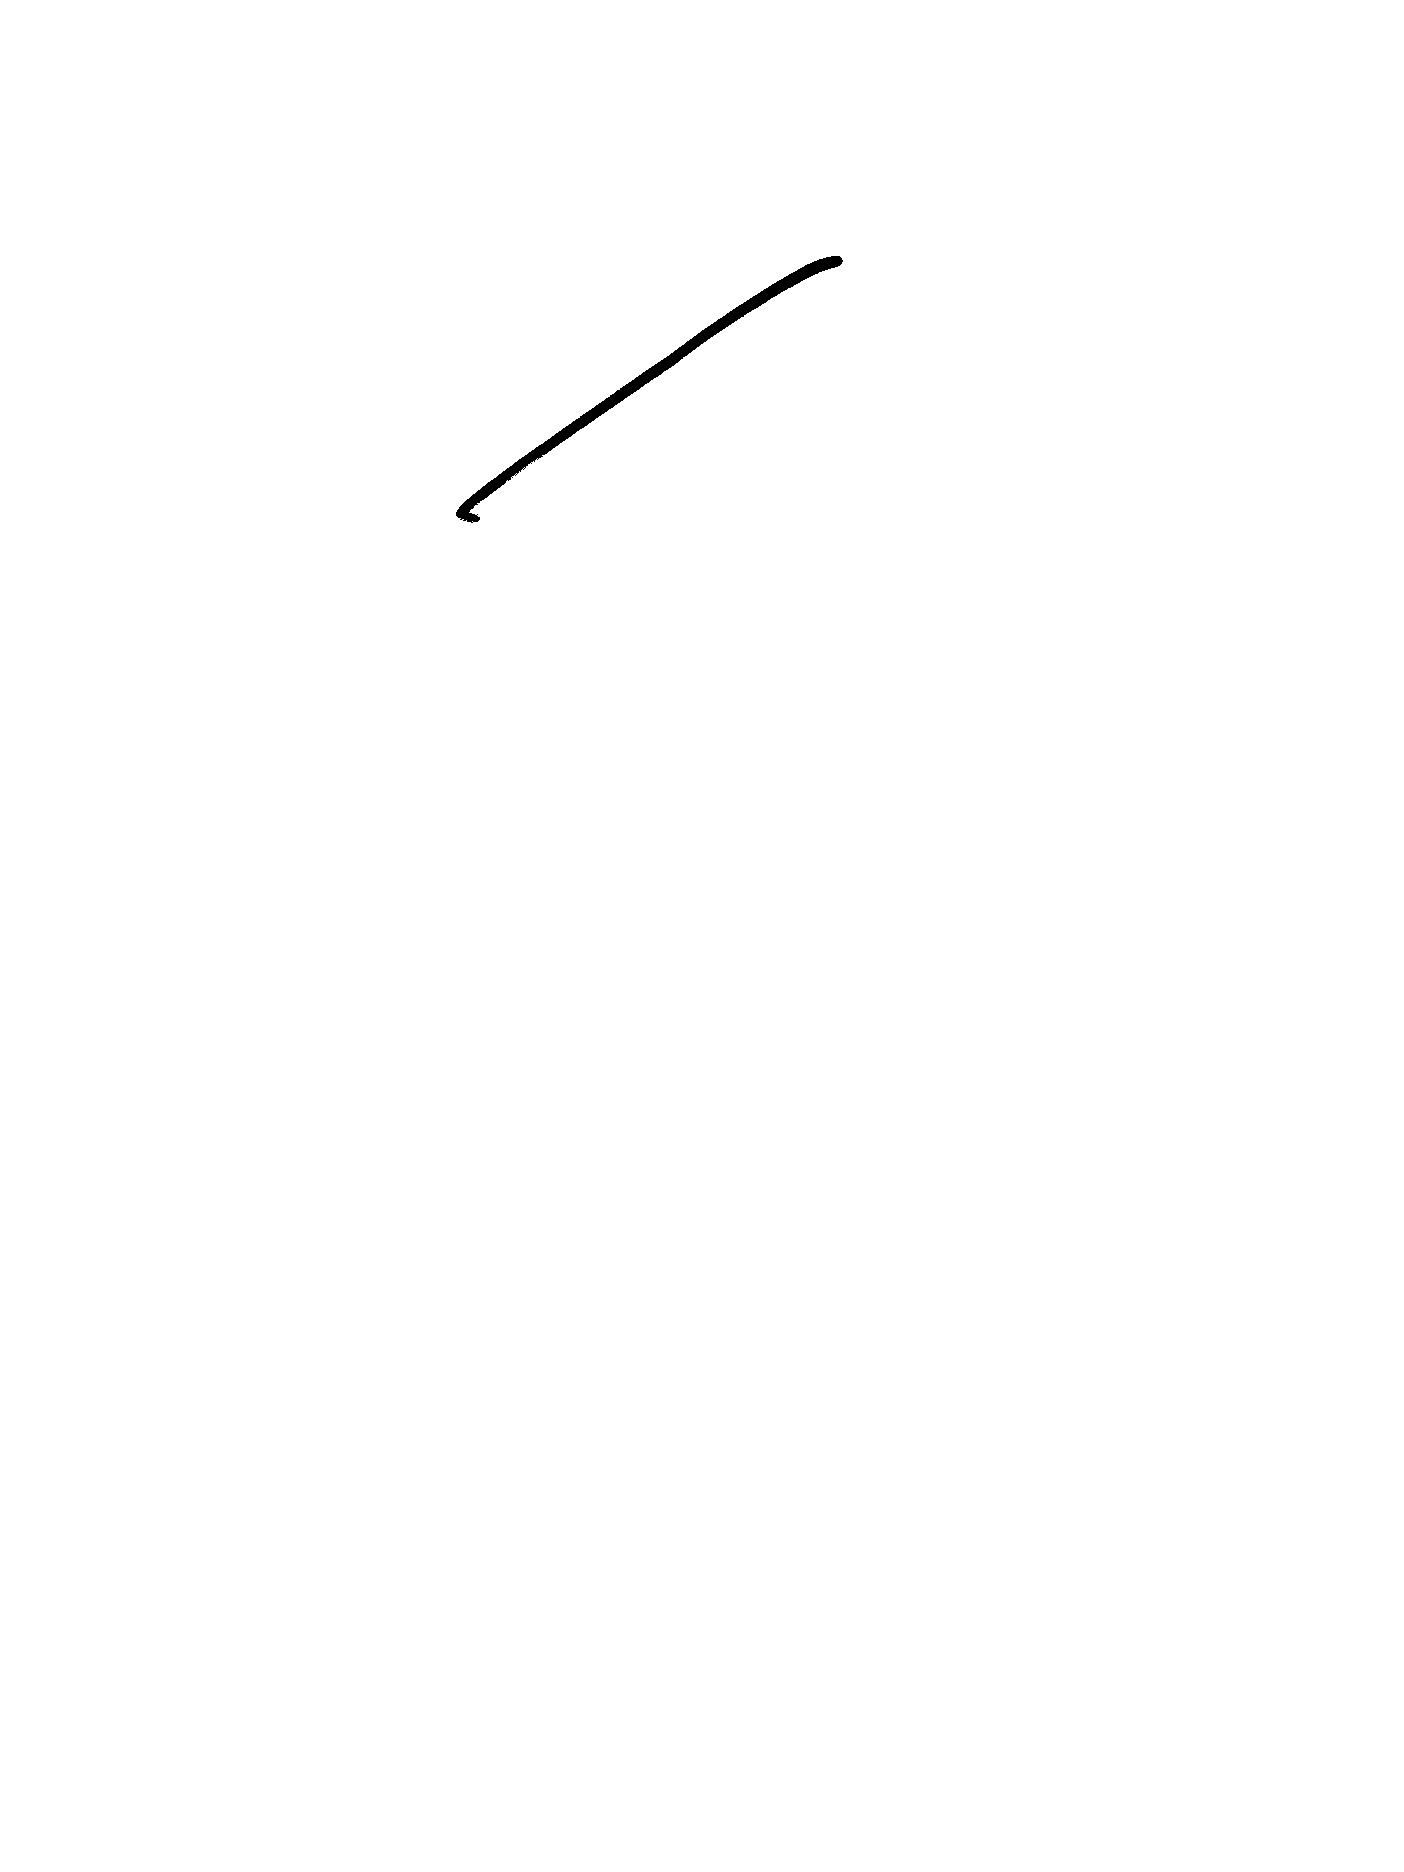
Marker
Highlighter
Pencil
Fineliner
I compiled this list:
- 15 Ballpoint Pen
- 17 Fineliner
- 16 Marker
- 14 Pencil (for both straight and tilted !!)
- 13 Mechanical Pencil
- 13 Paintbrush
- 18 Highlighter
- 08 Eraser (apparently this one hasn’t changed)
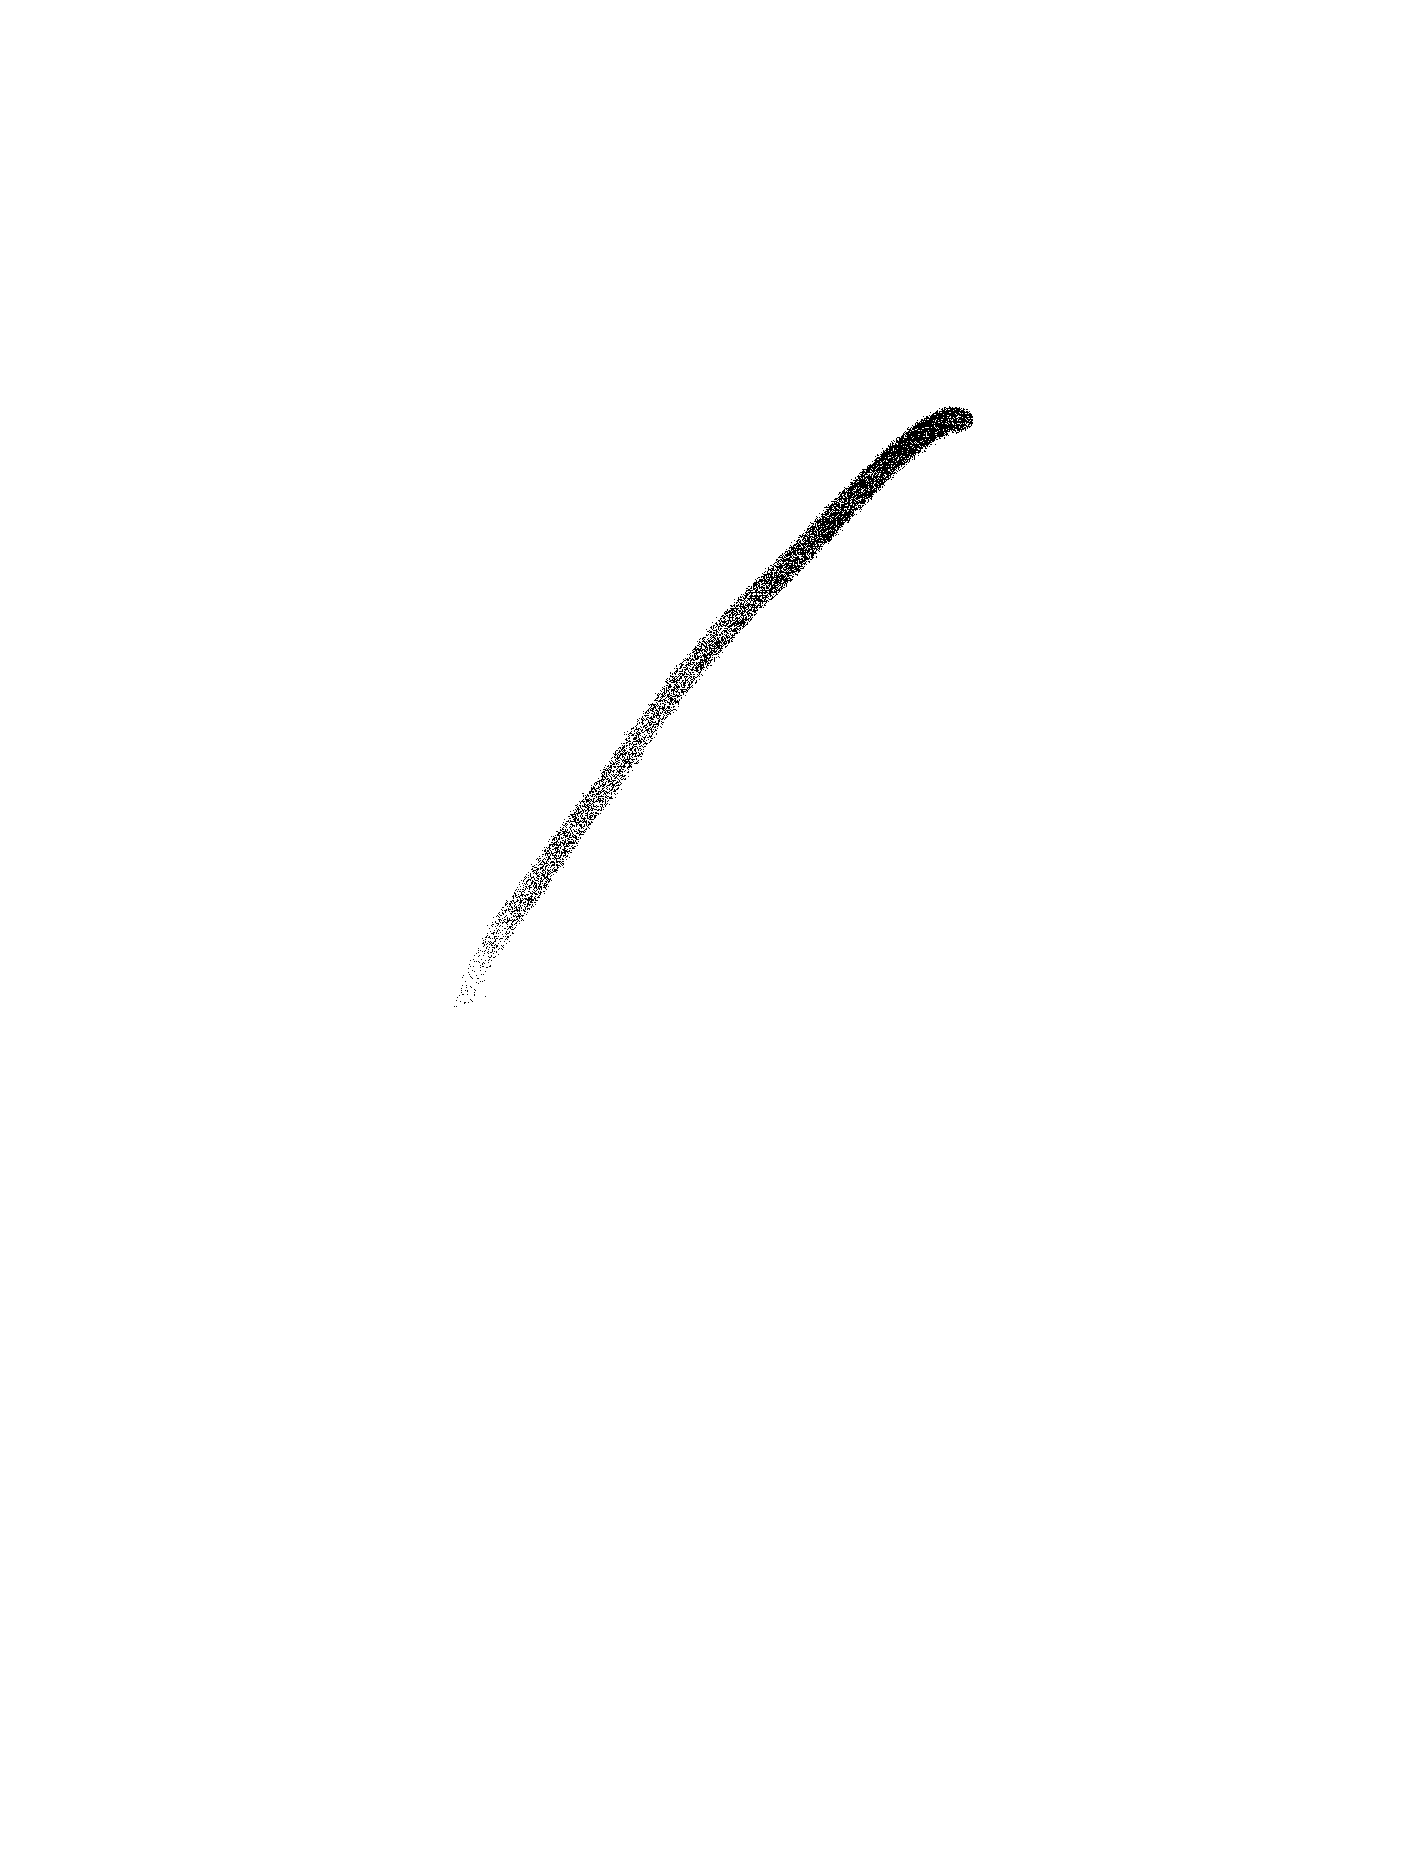
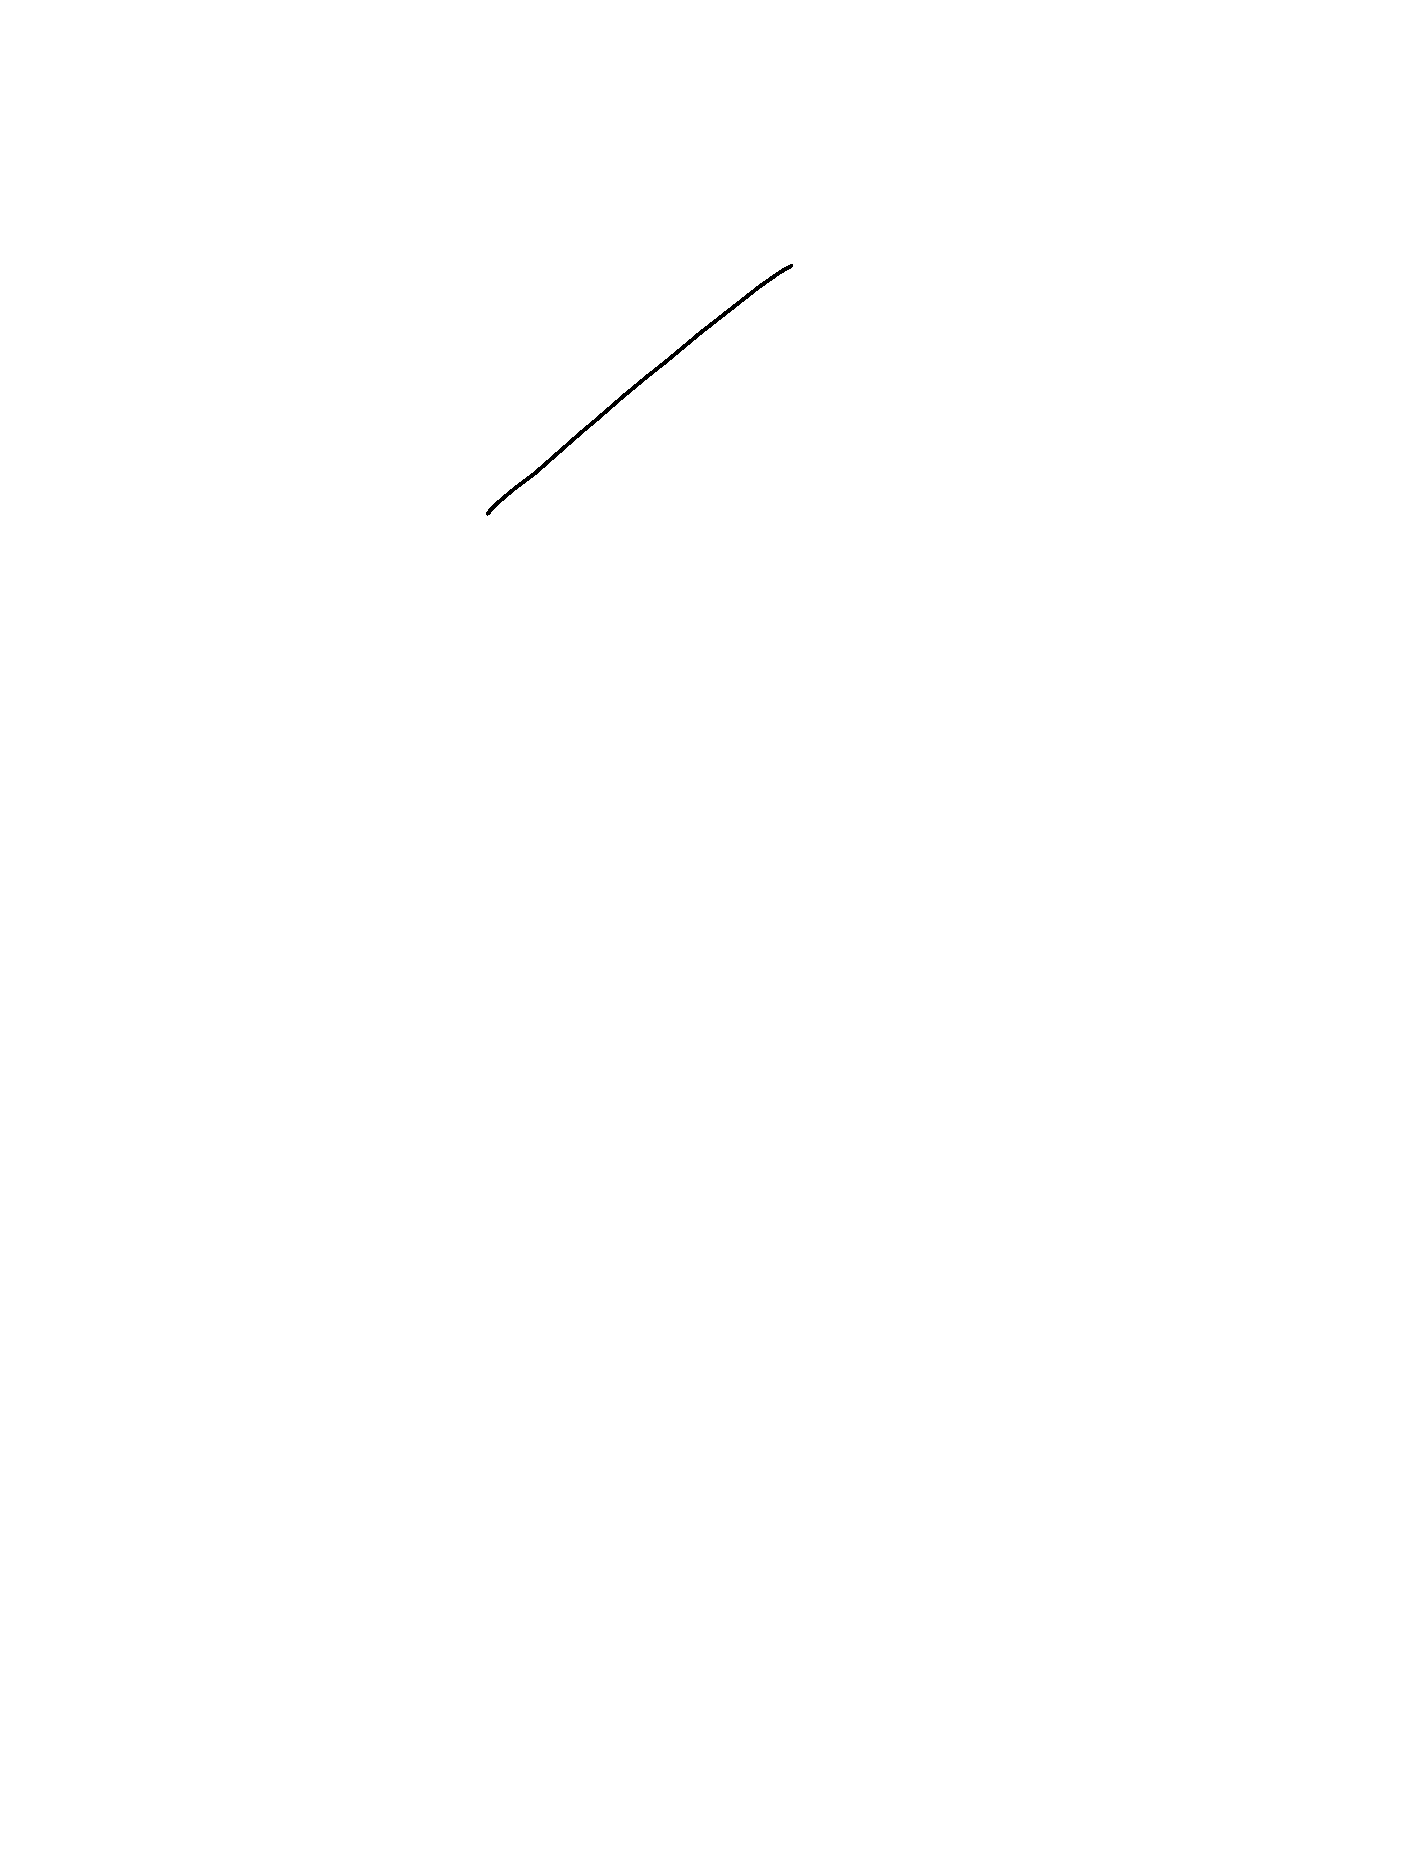
The next step was that the rendering itself wasn’t working well anymore. So I decided to reimplement it and in particular to pay attention to the fact that a brush like the paintbrush is sensitive to pressure and creates lines with different widths.
In order to accurately reproduce it, I needed a mix of circles where each point is and a polygon between them.
And finally, making sure the opacity is properly managed so the line becomes one entity.
Current results
So far, the results are promising, even if I see some odd behaviors when the brush is moving fast: it’s creating dotted lines instead of continuous. But all in all, it’s very nice looking and the lines can be distorted as you please :)
PNG from remarkable

SVG from script
And you can also play with colors :)
Except here, there is a slight bug on the width apparently.
PNG from remarkable

SVG from script
The source code is available at https://github.com/nrdufour/rm-tools.
References:
- https://github.com/reHackable/maxio original work
- https://plasma.ninja/blog/devices/remarkable/binary/format/2017/12/26/reMarkable-lines-file-format.html original document describing the binary format of
linesfiles - https://developer.mozilla.org/en-US/docs/Web/SVG/Element/feGaussianBlur Useful to deal with the pencil

